How do I add and configure "SuperOffice for Outlook" add-in?
It can be deployed either per Outlook user directly, or centrally by Office365 admin.
In the pilot-version, the Outlook add-in needs to be deployed (added and configured) manually to Outlook - as the pilot-version of our add-in is not added to the Outlook add-in store.
(Only the release version is in the Outlook add-in store).
The SuperOffice pilot programs are free of charge and covered under the current Terms of Service for your SuperOffice CRM Online installation.
When an app or a service is in pilot, it means that it is still in the testing phase. All new apps and services are first published in a pilot program. By signing up and start using the app during its pilot period, you have by default accepted the Beta Agreement Terms.
- The pilot version will connect to your tenant in online.superoffice.com.
- The pilot connection will refer to "Stage".
- There is no need to carry out updates once the add-in deployed. The cloud to cloud solution will centrally and automatically update everything for you when we publish new pilot versions.
- Some features and functions may be limited on the version of the CRM Online tenant you connect (authenticate) the add-in to.
Deploy in your own Outlook (per user)
If you already have a version of this add-in installed, we recommend you to remove this first, to avoid having 2 add-ins in your Outlook.
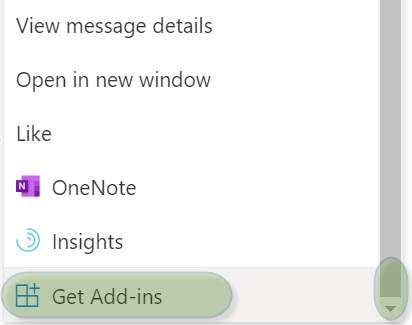
- Step 1: Log on to Office.com and start Outlook – choose an email, then click '…'
- Step 2: Click "Get Add-ins"
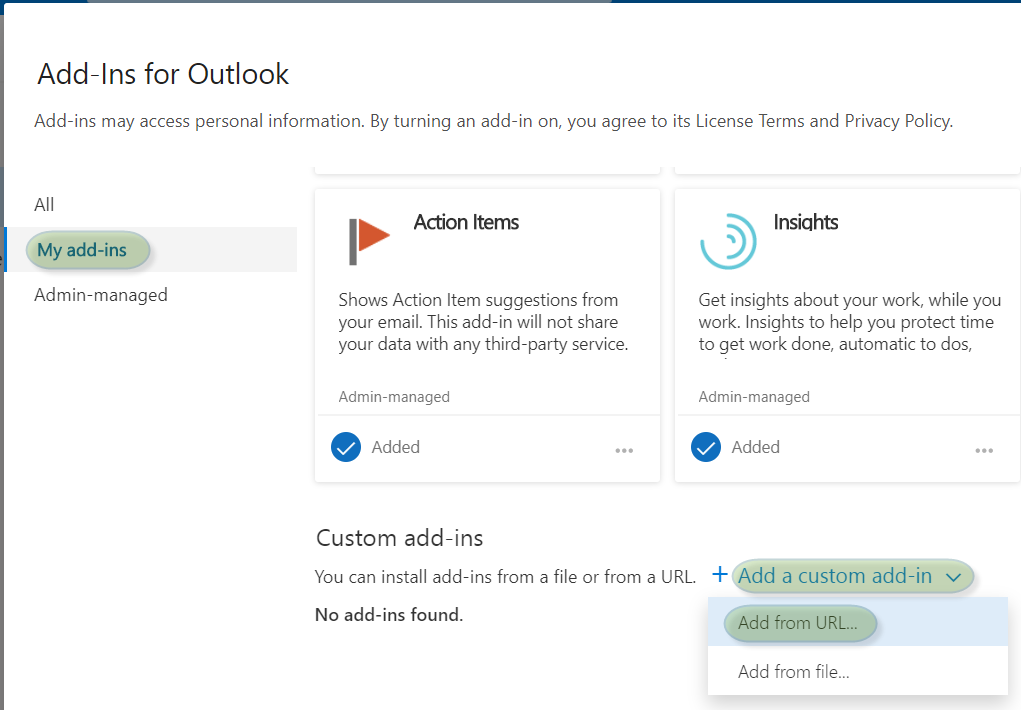
- Step 3: Choose "My add-ins",
click on "Add a custom add-in" and select "Add from URL..." - Step 4: Copy/paste in this URL to the dialog: (make sure you get the URL in plain-text, only)
https://superofficeforoutlook-stage.superoffice.com/manifest/manifest.xml
and click [OK], then click "Install".
The deployment is now complete. The first time you will need to authenticate towards your tenant (in online.superoffice.com). A new browser dialog will pop up to perform this one-time authentication.
Now you are able to save emails and contact information to SuperOffice.


Centralized Deployment
Centralized Deployment can be performed either via O365 Admin GUI, or via PowerShell.
The Centralized Deployment service lets you deploy Office Web add-ins to users of Excel, Outlook, PowerPoint and Word.
Learn more about the requirements for Centralized Deployment.
Centralized Deployment via O365 Admin GUI:
If you already have deployed a version of this add-in installed, we recommend you to remove this first, to avoid users having 2 add-ins in their Outlook.
- Log in to Office365 admin (with "global admin" rights)
- Open Admin center, and set to use "old" O365 Admin GUI
- Go to Settings -> Services & add-ins
- Click "Deploy add-in"
- Choose "upload custom app", copy/paste in this URL to the dialog:
https://superofficeforoutlook-stage.superoffice.com/manifest/manifest.xml - ..and follow the steps it tell you to, and make your selections based upon your preferences, along the way.
Centralized Deployment via PowerShell:
Please read the guide from Microsoft here: